

What to check in a 3D interior render
Review a 3D interior render against the layout, physical samples and specific room decisions before approving finishes or joinery details.
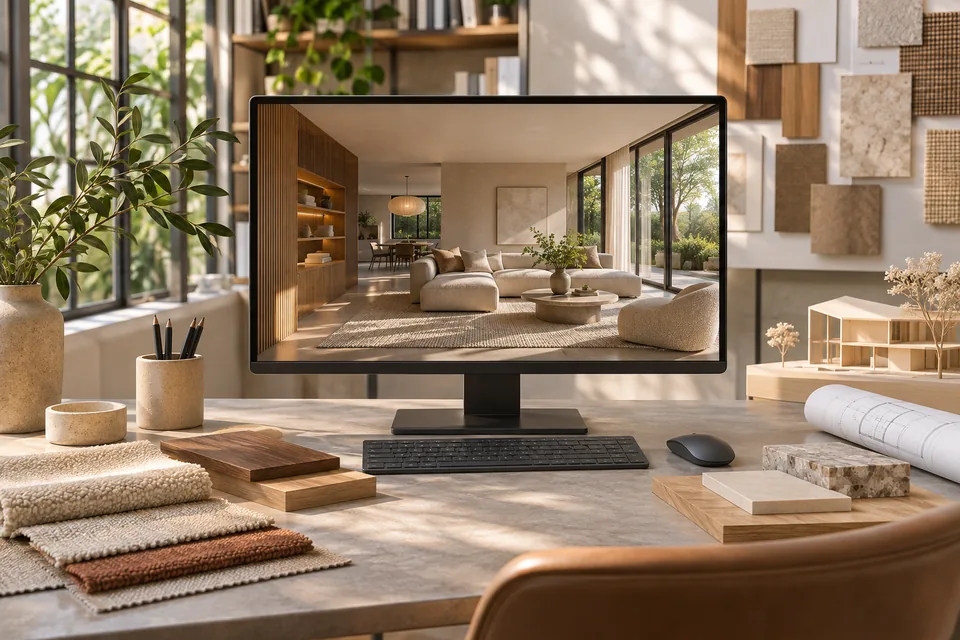
Use the render to decide how you want a room to feel and the drawings to confirm how it is meant to work. Start with the view you will see most often, such as from the doorway or where you sit. Compare it with the latest plan so you know which arrangement and selections the image represents.
Ask for views that answer a question
A wide-angle view helps you see a whole room. An eye-level view from the sofa may tell you more about whether tall storage feels imposing. Ask to see the room from the spot where you will actually use it. If two options are being compared, use the same viewpoint and similar lighting so the design difference is clear.
Use Compare the finishes from the render at home when it is time to compare the palette in the room.
If the render includes a decorative ceiling, compare it with the apartment ceiling plan review before treating the visual as an execution drawing.
Compare two views of the same proposal
Request a view from the doorway and one from a place where someone normally sits or works. Stand in those spots if you have site access and compare what the images show. Check the relative height of the proposed furniture, the amount of open wall you can see and which objects draw attention first.
If you are comparing options, ask for consistent views. A bright daytime render of one layout and an evening render of another can make a lighting difference feel like a better design. Use the same camera and light conditions for the comparison, then ask to see day and evening settings separately if they affect your choice.
Compare the picture with the drawings
Check where doors, furniture and fittings sit on the dimensioned plan and elevations. Ask how wide the proposed joinery is, where it opens and what it meets. A rendering may show a clean gap beside a cabinet without telling you how it will be formed. Confirm the detail in the drawings before signing off work that relies on it.
Make a three-column approval record
On one page, separate the things you can decide from the render, the things to confirm on a dimensioned drawing and the things to approve using physical samples. The relationship between the sofa and feature wall can be assessed visually. Cabinet depth and drawer movement belong on the drawings. The exact finish and sheen need a physical reference.
Imagine a rendered study with built-in shelves over a desk. You can judge whether the wall feels balanced from the image. Use the elevation to check the shelf positions and confirm how the desk is used. Bring samples together with the flooring and upholstery to see if the colour combination works in the actual room.
Approve finishes against physical samples
Note which colours and textures are approximate in the render. Compare real samples together in the room under daylight and the proposed evening lighting where possible. A timber tone that looks warm on a phone may read differently beside the selected tile. Record the actual reference and finish when you make the choice.
Close the loop between image and execution
Write comments against the latest revision and use plain language. If a feature needs to change, describe what you want to improve, such as making a work surface easier to reach. Ask the designer to show the change on the affected drawing as well as in the view when both are relevant.
Keep an approved visual, the related drawing revision and the selected finish references together. If a supplier proposes a substitution later, compare it with those references. A shared record makes it easier for the household, designer and site team to agree on what was approved.
Ask what drawings accompany 3D visualisation before approving the proposal.
Turn comments into decisions
Replace feedback like “make this corner lighter” with an instruction the designer can test, such as trying a lighter cabinet finish from the same viewpoint. Keep the agreed image revision alongside a list of decisions still open. If you are starting a visualisation brief, share your current layout, examples you like and the specific views you want to resolve.
Turn visual comments into an approval record
Instead of writing that a room looks too busy, identify the element and the decision: reduce the number of visible finishes, change a cabinet proportion or compare an alternative light. Ask for a view that helps resolve that question, keeping the same camera position where possible.
Separate appearance decisions from items that still need dimensions, technical review or physical samples. A render is a communication tool and may simplify hidden details. Keep the approved drawing and product references beside the visual so execution does not rely on the image alone.
Can a render guarantee the exact colour I will see at home?
No. Screens, rendering choices and room lighting affect appearance. Review the actual material samples in the intended setting before making a finish decision.
Discuss your project
Bring the render and your specific questions to discuss the next design decisions with our Interior team. You can discuss your project with Shri Aarambh Interior.