

How to review a tile layout and grout sample
Review tile cuts, sightlines, grout colour and visible junctions together before approving a tile layout or ordering the complete finish.
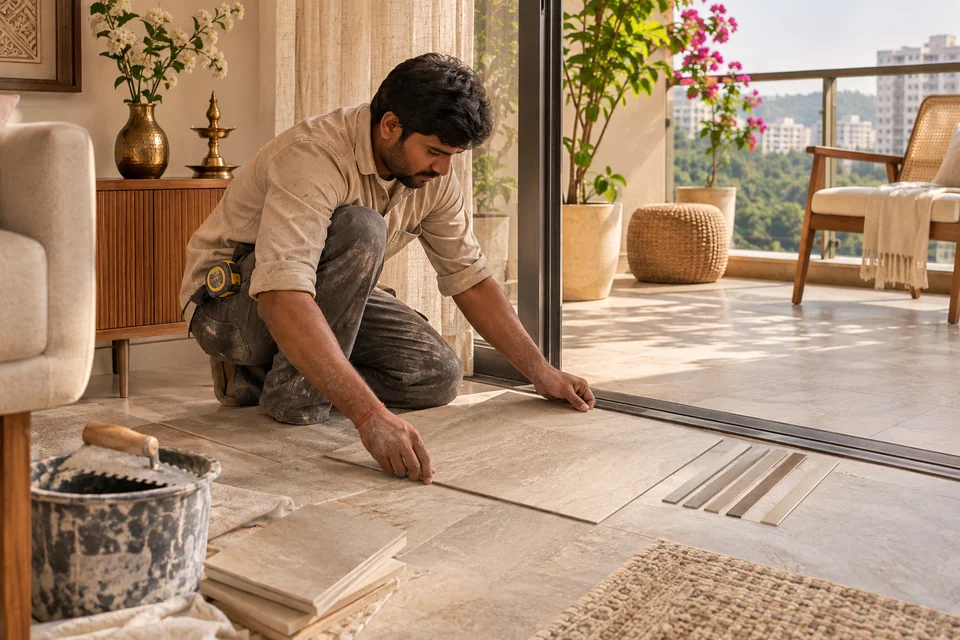
Review tile cuts, sightlines, grout colour and visible junctions together before approving a tile layout or ordering the complete finish.
Overview
Approve a tile layout and grout sample together. Look at the actual material, the direction of the pattern and how it meets thresholds or fitted furniture. The sample tells you how the materials look side by side, while the drawing tells you where the cuts and transitions will appear.
Start with the sightlines
Mark the places from which you see the tile first. Review the entry, the main wall and junctions with neighbouring finishes. A small cut behind a cabinet may matter less visually than one at the doorway. Ask the installer to explain the layout options and how visible edges will be resolved for the actual room.
For the related planning decisions, read the guide to testing paint and finish samples.
Compare the grout with several tiles
Look at grout choices beside representative pieces rather than one perfect sample. Compare both a quiet matching joint and a more visible contrast if appropriate. In a tile with noticeable colour variation, a sample that matches one piece might stand out against another. Use the light you expect in the room and ask about care for the selected products.
Review exposed junctions and maintenance
Ask how the tile will meet the floor, skirting, fixtures and adjacent rooms. Review any technical requirements for the location with the responsible installer and product guidance. In a wet area, have the professional confirm the complete assembly and suitability for the intended use. Check how any textured or detailed area will be cleaned.
Work through an example
For a small entrance, ask the installer to place several tiles on the floor before you decide where the pattern starts. Stand in the corridor and look toward the room. Compare the visible cut at the threshold with the cut that would sit beneath furniture, then review the grout beside more than one tile.
Approve a shared reference
Keep the approved tile, grout and layout reference together. If a product is substituted, review it again alongside the adjoining finishes and revise the drawing if necessary. A dated photo can identify the chosen sample, while the physical sample is useful for checking the installed work.
Bring your current plan and the decisions still open when you discuss tile and stone finishes.
Approve a small arrangement that answers a real question
Place several tiles beside the selected grout sample and adjacent finish so the comparison includes more than one isolated piece. Ask the designer to show the proposed starting point, edge cuts and visible junctions on the layout. Check the arrangement from the room entrance and main viewing position.
Record the exact tile and grout references with the approved layout revision. Installation requirements, wet-area details and product suitability belong with the appropriate professionals and manufacturer information. A visually pleasing sample is one part of that review, not approval of the whole installation system.
Should the grout colour be selected from a screen image?
Use a physical sample with the actual tile where possible. Screen appearance and lighting can change the comparison, and the chosen product should be identified in the finish record before ordering.
Discuss your project
Bring your tile options and layout questions to discuss tile-and-stone finishes for your home. Explore tile and stone finishes to discuss the relevant scope.